
Until Easter weekend. I had to. I mean really - who's going to sit back and let some silly pastry beat them into the ground. Me? Ha!
So I armed myself with loads of flour. LOADS. And butter. And shortening. I was prepared for anything. And why, you ask???
My Dad and Mr. Hungry have a thing for Lemon Meringue Pie. *sigh* I am not a fan. OfLemon Meringue Pie. I love apple pie, but not lemon. I mean, the lemon I can handle. The meringue, not so much. It's just eggs all beaten up and sweetened and baked for a bit.
So, being a good daughter and a giving wife, I made them guys some pie.
And we all know that pie starts with pastry.
Foolproof Pie Shell
Makes: single layer pie shell
Foolproof Pie Shell
Borrowed, Tested and Approved (by me) from www.familyfun.com

1 1/2 cups flour
1 Tbsp sugar
1/2 tsp salt
1/4 cup unsalted butter (cold)
1/4 cup vegetable shortening (cold)
4 Tbsp cold water
In a bowl, mix together the flour, sugar and salt.
Make sure your butter and shortening are cold - right from the fridge.


You want to 'cut' the butter/shortening in enough until it looks like cornmeal. Kind of lumpy.


Now, after years of watching the Food Network, I have learned one thing. Making pastry means you need to use cold ingredients. Very cold butter. Very cold shortening. And very cold water. So to prepare, I actually just filled a small bowl with water and added a few ice cubes.

See - the flour starts to get larger 'lumps' as the water begins to bind it.

Sprinkle a bit more water (another tablespoon) into the flour mixture. Mix with the fork some more.
Bigger lumps? Perfect. I hope. Time will tell!

Again, sprinkle more water (yes, another tablespoon) into the flour mixture and mix. You may find that using your hand now is a better idea!
The flour will actually be able to be packed into a loose bally by now, and here's where you want to add water by feel, not volume. You're nearing dough!

I actually just used one hand to mix and another to dip into the water and sprinkle more water into the dough and softly and carefully press the ball of dough together.
When you feel it binding, stop adding water. Stop mixing. Turn a few times to gather any loose bits and STOP PLAYING WITH IT!! Seriously. Just stop.

Form dough into a rough ball.
Wrap dough in plastic wrap and put it into the fridge (needs to be cold, remember) for about 1 hour.
Working on a flat, floured surface, begin rolling out the dough. I used the marble pin. Just seemed like it was heavy enough, and least likely to have the dough stick to it.
I actually just used my hands in the beginning, just to flatten it a bit more.


Roll the dough into a nice circle about 1/4" thick. Let the rolling pin do the work - don't force it!!

When ready (and you do have to work fairly quick doing this or the butter & shortening will warm up and the dough will be too soft), roll the dough onto your rolling pin and gently lift onto your pie pan.
Be gentle. Rips can be fixed but they mess with my not-so-subtle OCD side.

I guess this is where you're to make the fancy fluting on the edge of the pie shell?? OK - I'm not THAT clever. I trimmed. I trimmed CLOSE to the edge of the pan.
I should NOT have trimmed that close. You will see why .....
I needed to pre-bake for my pie too. This I winged. Woo hoo! Here we go!!
Preheated oven to 400 degrees Fahrenheit.
Left pie shell in the fridge.
Once the oven was hot, I poked fork holes all over the bottom of that pie shell. Then pressed in 2 layers of tinfoil on top of the shell (like adding a liner to the pie pan), and tossed it into the oven.
I did find that 1/2 way through baking, I had to press the foil down a bit as the pie shell started to swell up. All up. No biggie. This was the first time I'd ever gotten >this< far and I was feeling great!

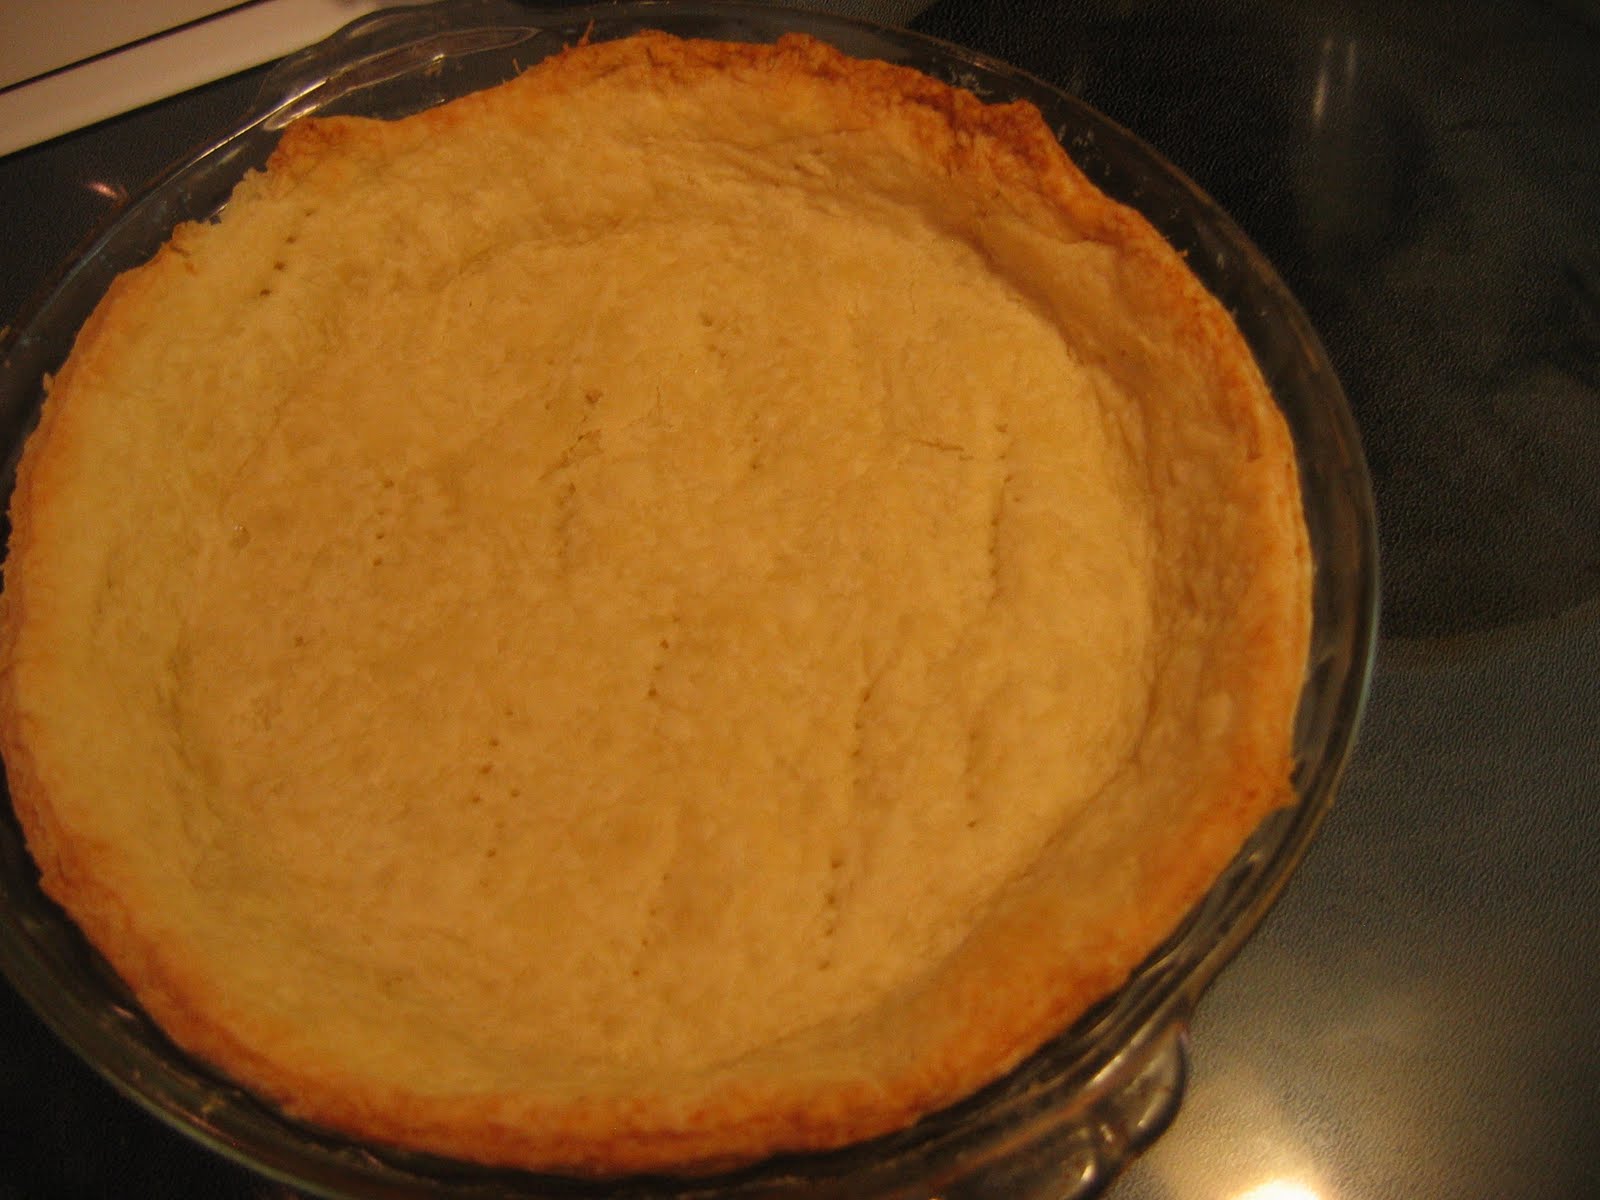
So, I baked it for about 15-20 minutes, until browned and that - was that.
Now, remember I trimmed the dough close? See how much is shrunk!! Gah

Here's the finished Lemon pie. I used a package. Sorry. Ran out of time. And steam. It was late, Easter was the next day and dang - I needed a break!! Just picked up a brand name one from the store because it was easy to do.
And you know what? That pie crust actually was pretty tasty! I think, with practice - it will get even better. But for this night, it worked just fine!
Perhaps one day you will be brave, like me!
Hope you enjoyed MY pastry story!
--The Cook
No comments:
Post a Comment